This guide is intended to illustrate how I use Krita for drawing. For how to draw actual fluffies, check out this post:
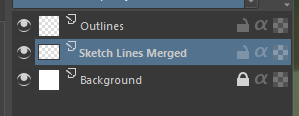
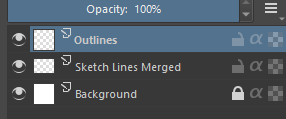
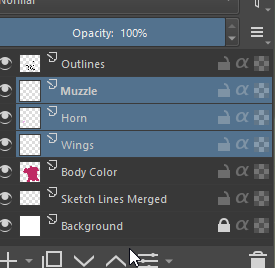
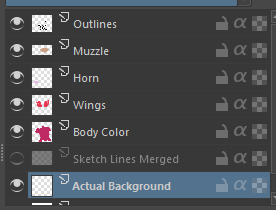
Start with three layers in Krita: Background, Sketch Lines, and Outlines. You can name these as you see fit, but these are what I use.
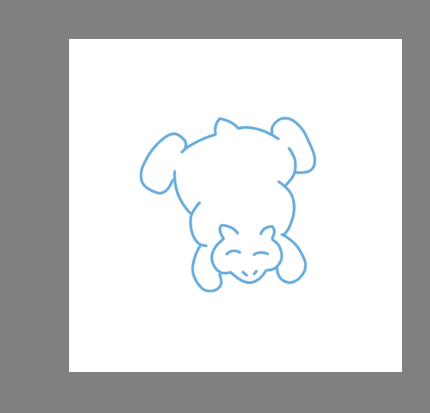
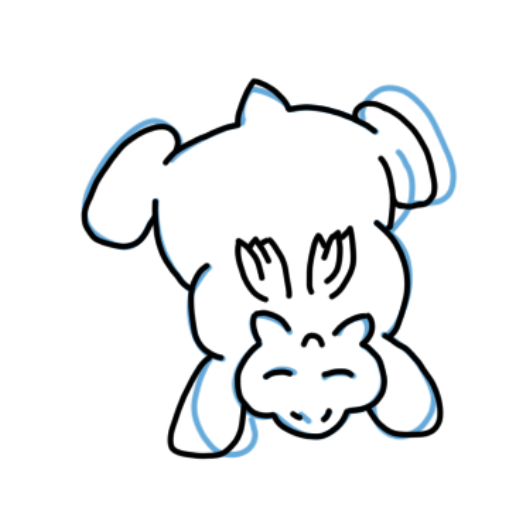
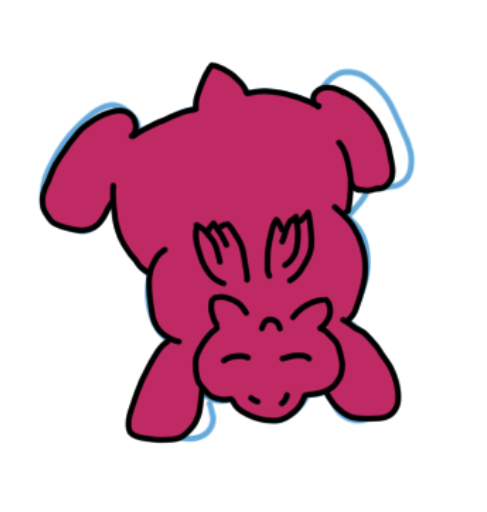
On your sketch lines layer, draw the rough shape of the illustration. This is also where you’d put any scanned art. The key thing is to use a different color from what you’ll be using for your actual outlines. Being very lazy, I keep a krita document of all the body sketches I do for fluffies and just copy/paste in what I need.
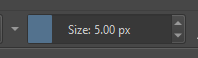
Once the basic sketch is complete, move to your Outlines layer and pick the actual color, brush size, and brush type you want to use to complete the illustration. I outline in black, with the fine liner, at 5px.

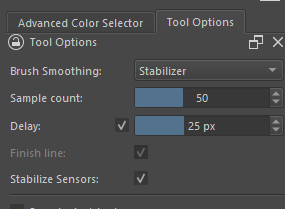
Because I have hand tremors, and a mouse/stylus isn’t forgiving like an actual brush, I use a stabilizer for my drawings. You can find this in Tool Options in the upper right when you select certain brushes. If this isn’t there by default, Google turning the menu option on. You’ll want to select Stabilizer from Brush Smoothing. At the size at which I draw, I jump between a 25 and 50 pixel delay, depending upon the type of line or curve I’m making.
Following your sketch lines, you can draw over them to get the desired final drawing you want. As my underlying sketch has some weird proportions, I’ll use the outlining layer to get proportions that I like. The separation of layers means I can turn the sketch lines on and off as I work to make sure I like the output, and I don’t have to clean up the sketch lines when I’m done with the outlines. I can simply hide or delete the layer entirely.
Next, create a layer called Body Color (or whatever you want to call it.)
This layer should go under the Outline.
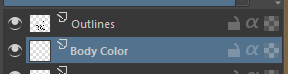
On this layer, you can fill the in your outlines. Putting it under the outlines layer means the color will not disturb your actual outlines.
Create additional layers as you see fit for further details. Generally these will go between the body color and outlines layer.
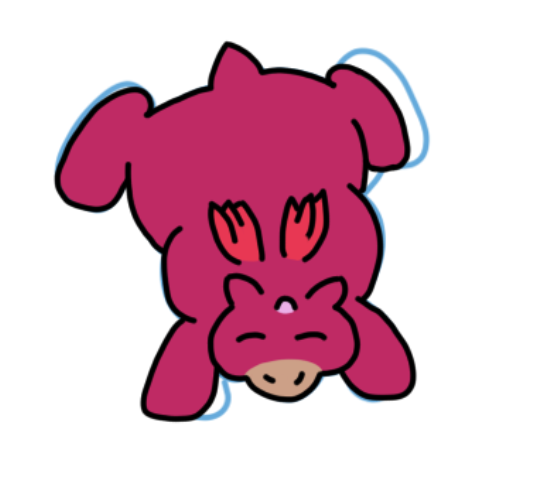
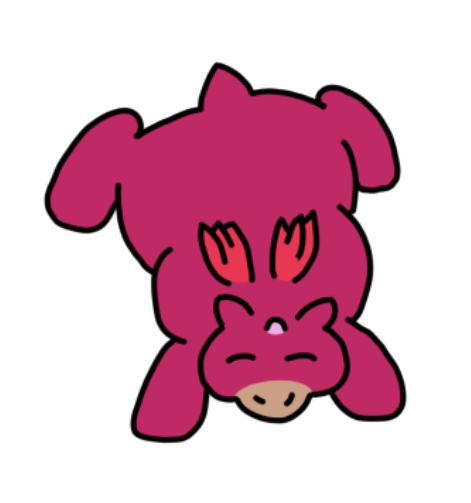
Finally, turn off your sketch lines to see your finished character.
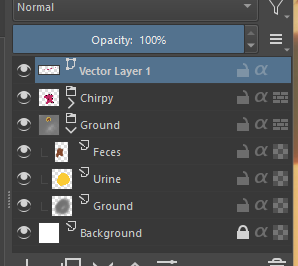
For backgrounds, you can add a layer below your body color, so whatever your draw is below your character.
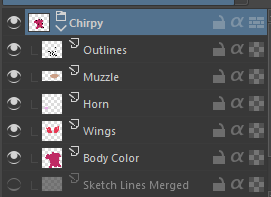
I also like to use groups. Here I lumped all the layers that make up the chirpy in to a Chirpy group. I can move, resize, and copy/paste the chirpy as a whole character now, preserving each layer.
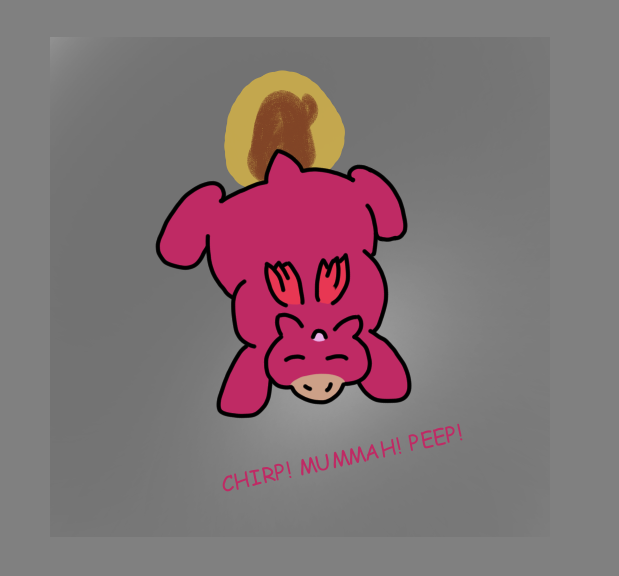
To tell a story, play around with different brushes and text. Do what suites you.
Reminder, all my sketches are available for community use as well. Anybody who wants to try drawing but doesn’t know where to start is welcome to trace over my bodies:
Simple open the png in Krita, and use one of the selection tools to grab the body style you want. Paste it in to a new document on the sketch lines layer and go to town.